

Any dog owner can relate to the sacrifices we make for our furry children. They depend on us for everything—food, safety, shelter, affection, water, etc. It’s difficult to see how our pups are related to wild dogs, because these two wouldn’t last a day on their own. Jaela would probably chase a squirrel off a cliff and Baxter would curl up and die without his blanket.
We take them out in the early morning cold rain when all we want to do is sleep in. We take them to the vet and spend too much money to make sure they are healthy and stay that way. We clean up their vomit when they throw up when we are already running late for something. We put our time and energy into making sure they get enough exercise, are happy, and learn obedience. And in return, we get their unconditional love. Their tails nearly fall off from so much excitement when we walk through the door, even when we’ve been gone only minutes. The only thing they want, other than our food, is to be near us.
Life on the boat is no different. So many of our boat projects revolve around making the boat safer and more comfortable for these two moochers.


Teak Time
In all honestly, varnishing the wood on the boat was not really for the dogs’ sake. However, it was something we wanted to do at some point in order to protect the wood (our brightwork was a sun damaged grey color). If it wasn’t for the dogs, we would have put it off and tackled the task while we were out sailing in the islands. Varnishing wood sucks, but doing it in a beautiful place would make it suck a little less. But we needed to install safety netting for the dogs. Because the netting runs along the toe rail, varnishing had to come first.
Our toe and handrails had NO remaining varnish on them, so we used Starbrite cleaner and brightener to get rid of the grey color and revive the teak back to its natural color. Rob sanded the rough spots, but they didn’t require much at all. The table and cabin doors were a different story. Because they see less sunlight, they still had a fair amount of old varnish on them. This is why Rob turned as orange as an Umpa-Lumpa sanding them. We used painter’s tape to tape off the edges and we were then ready to apply the varnish.


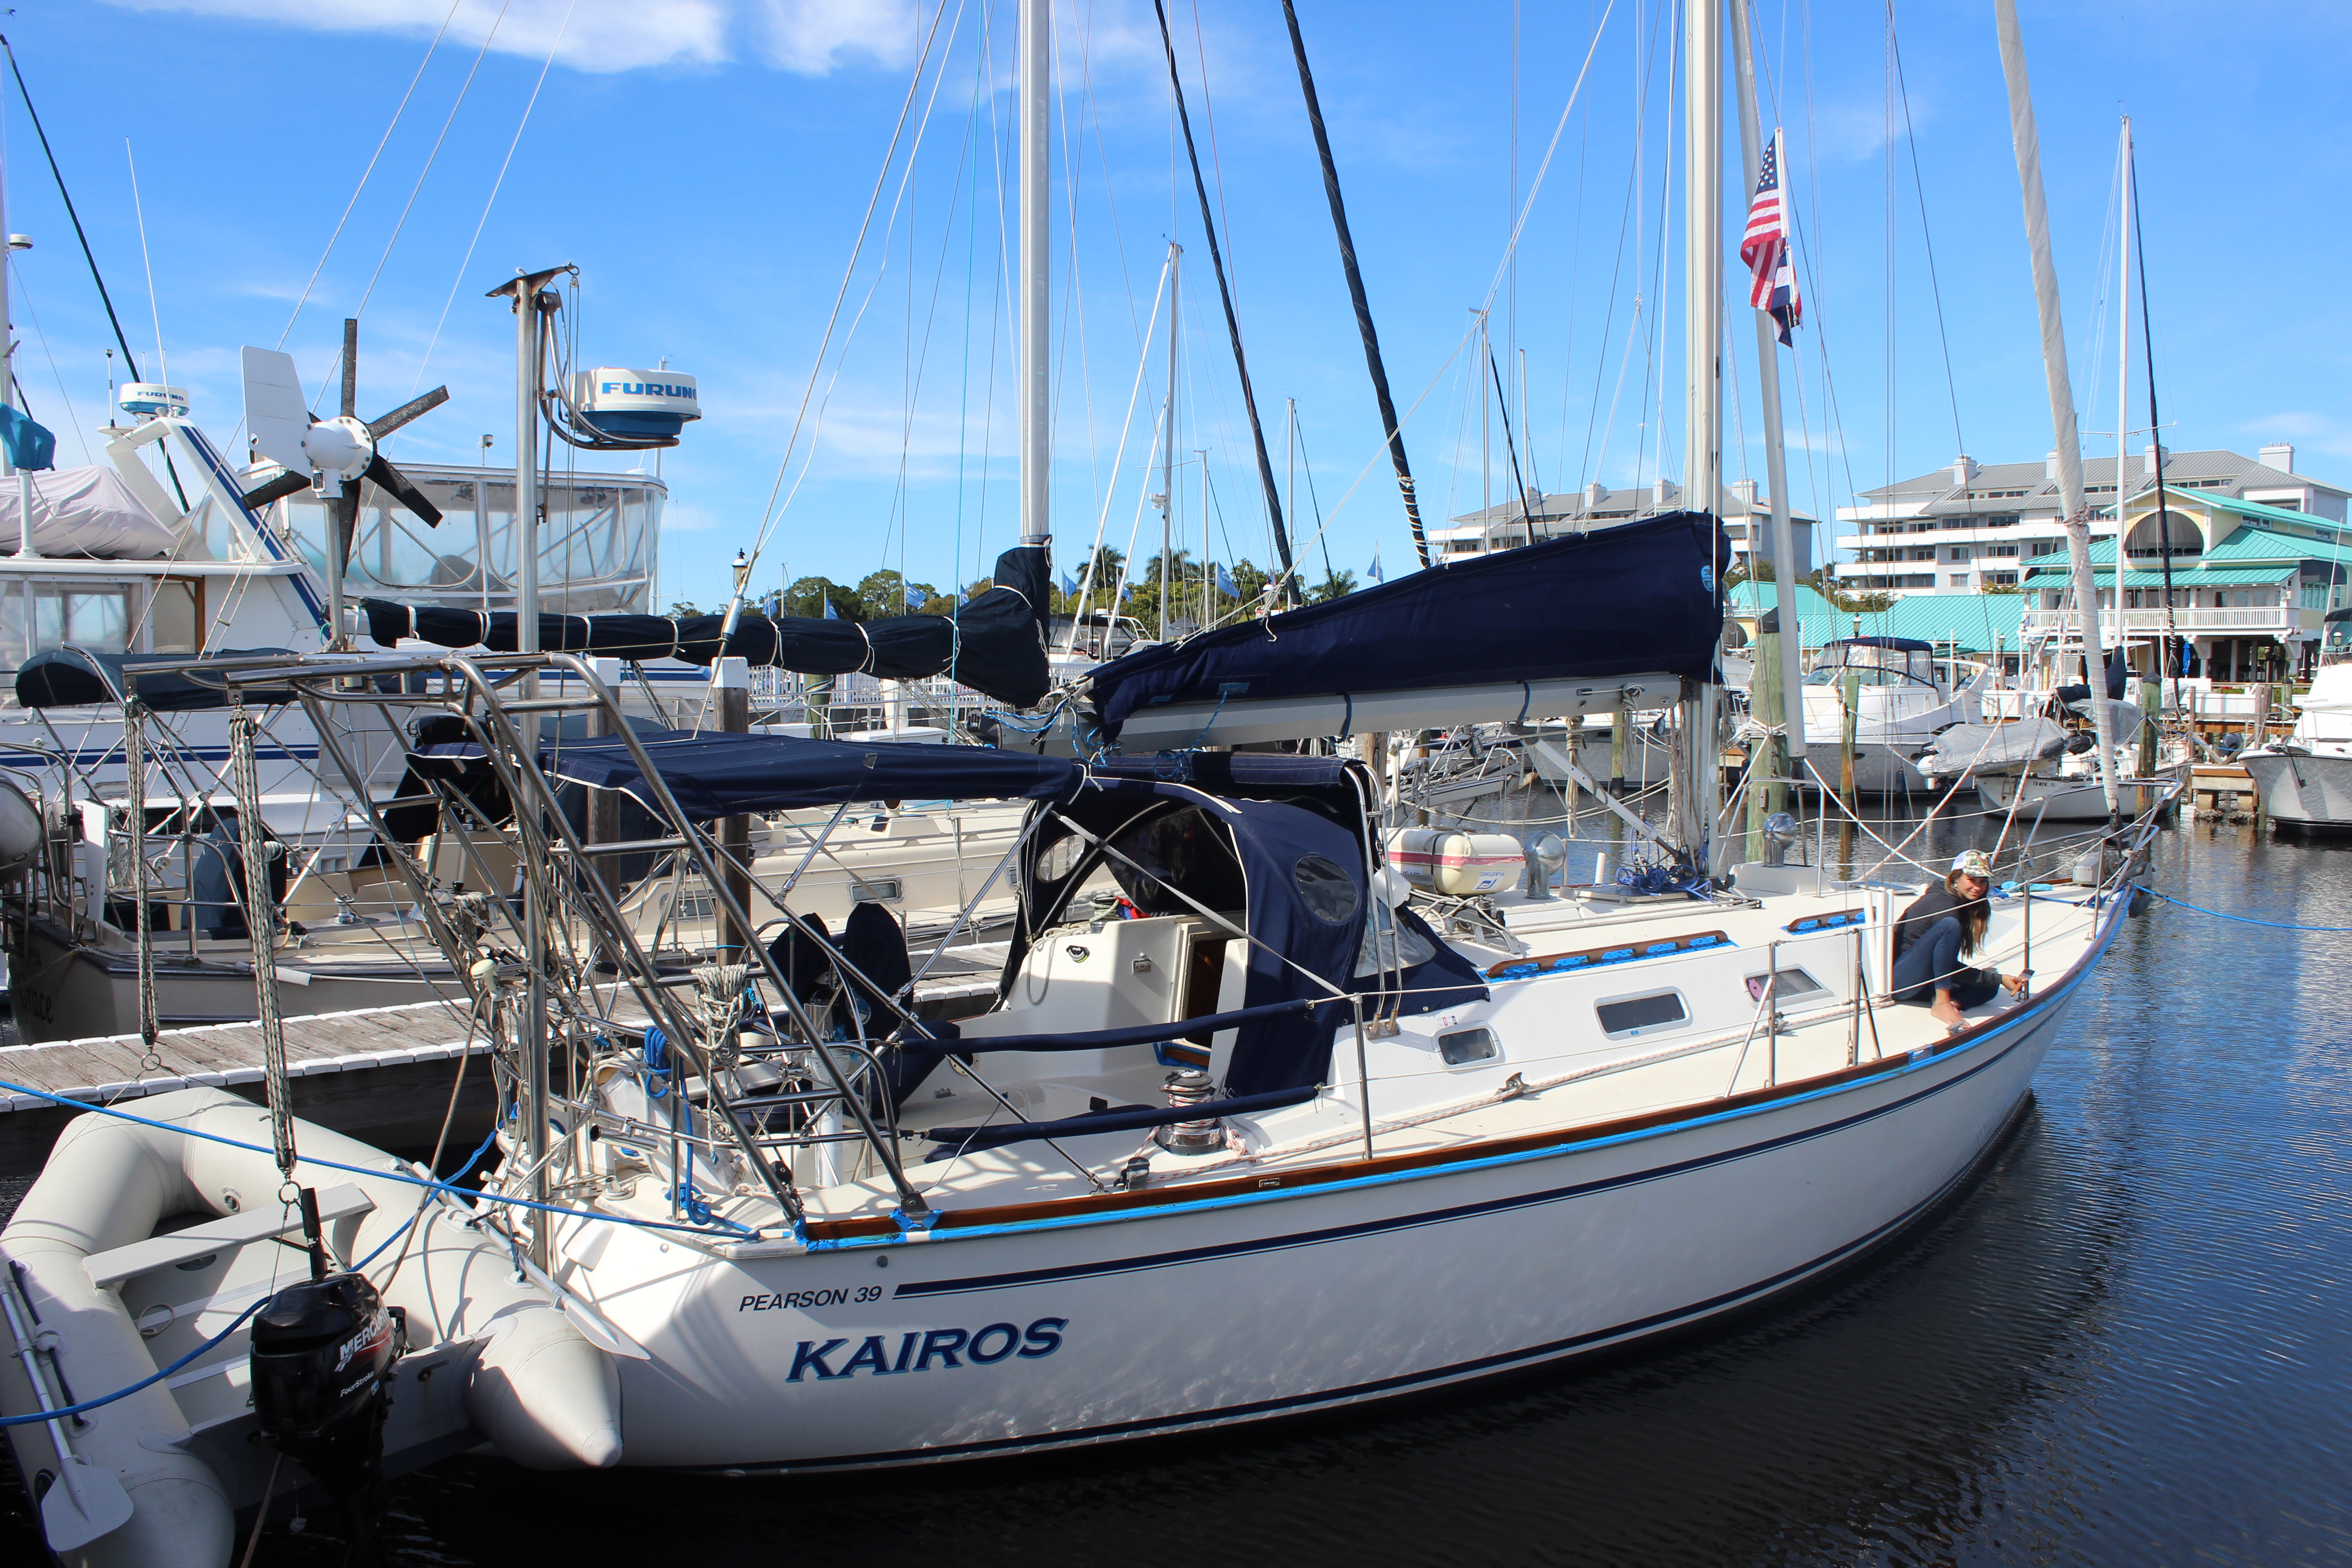
It appears that everyone has their own opinion about how many coats of varnish to apply (we used Sikkens Cetol) and how to apply it. Some people swear that you need 10 coats, other sand a fair amount between coats, some love Cetol, some won’t touch it. After hours of research, comparing pictures, and much deliberation, we decided to just follow the instructions on the can. We applied 3 coats of Cetol Natural Teak followed by two coats of Cetol Gloss. The Cetol was a little messy and with the rainy weather we’ve had, the process took longer than we originally thought (as does everything on the boat). But we are very happy with the end result, Kairos looks so much better with her new highlights.


Dog Netting
With the brightwork completed, I started installing the lifeline netting. Once again, I relied on Sailrite’s instructional videos to help me with this task. The netting provides additional safety for our dogs and potentially us. It’s also great at keeping the dogs inside the boat even when we are docked. Baxter had gotten into a nasty habit of jumping off the boat through the lifelines. Jaela, of course, is too scared to take such a risk. But now the netting even keeps Baxter on the boat when we want him to stay put.
I ended up tweaking the netting installation a little bit from the Sailrite video. Instead of pre-weaving the bottom line in the netting and using separate lines to attach it to the stanchions, I used a single line on the bottom and weaved it as I was weaving the top line. I tightened it at each stanchion and secured it with a clove hitch and two half hitches before continuing to weave it to the next stanchion. What I found most useful in the Sailrite video was how to attach the netting to the gate. It’s functional and looks great.


Lastly I used a hot knife to burn all of the ends of the netting and lines to ensure they don’t unravel. It was an extremely tedious project, but I was able to practice my knots while making the boat safer for the pups. I usually don’t like the look of netting on boats, but I have to admit that it looks pretty sharp right now. I’m sure in a few months it will be just as green and dirty as our lines were when we first moved onto the boat. But for now, I’ll reflect on a job well done.


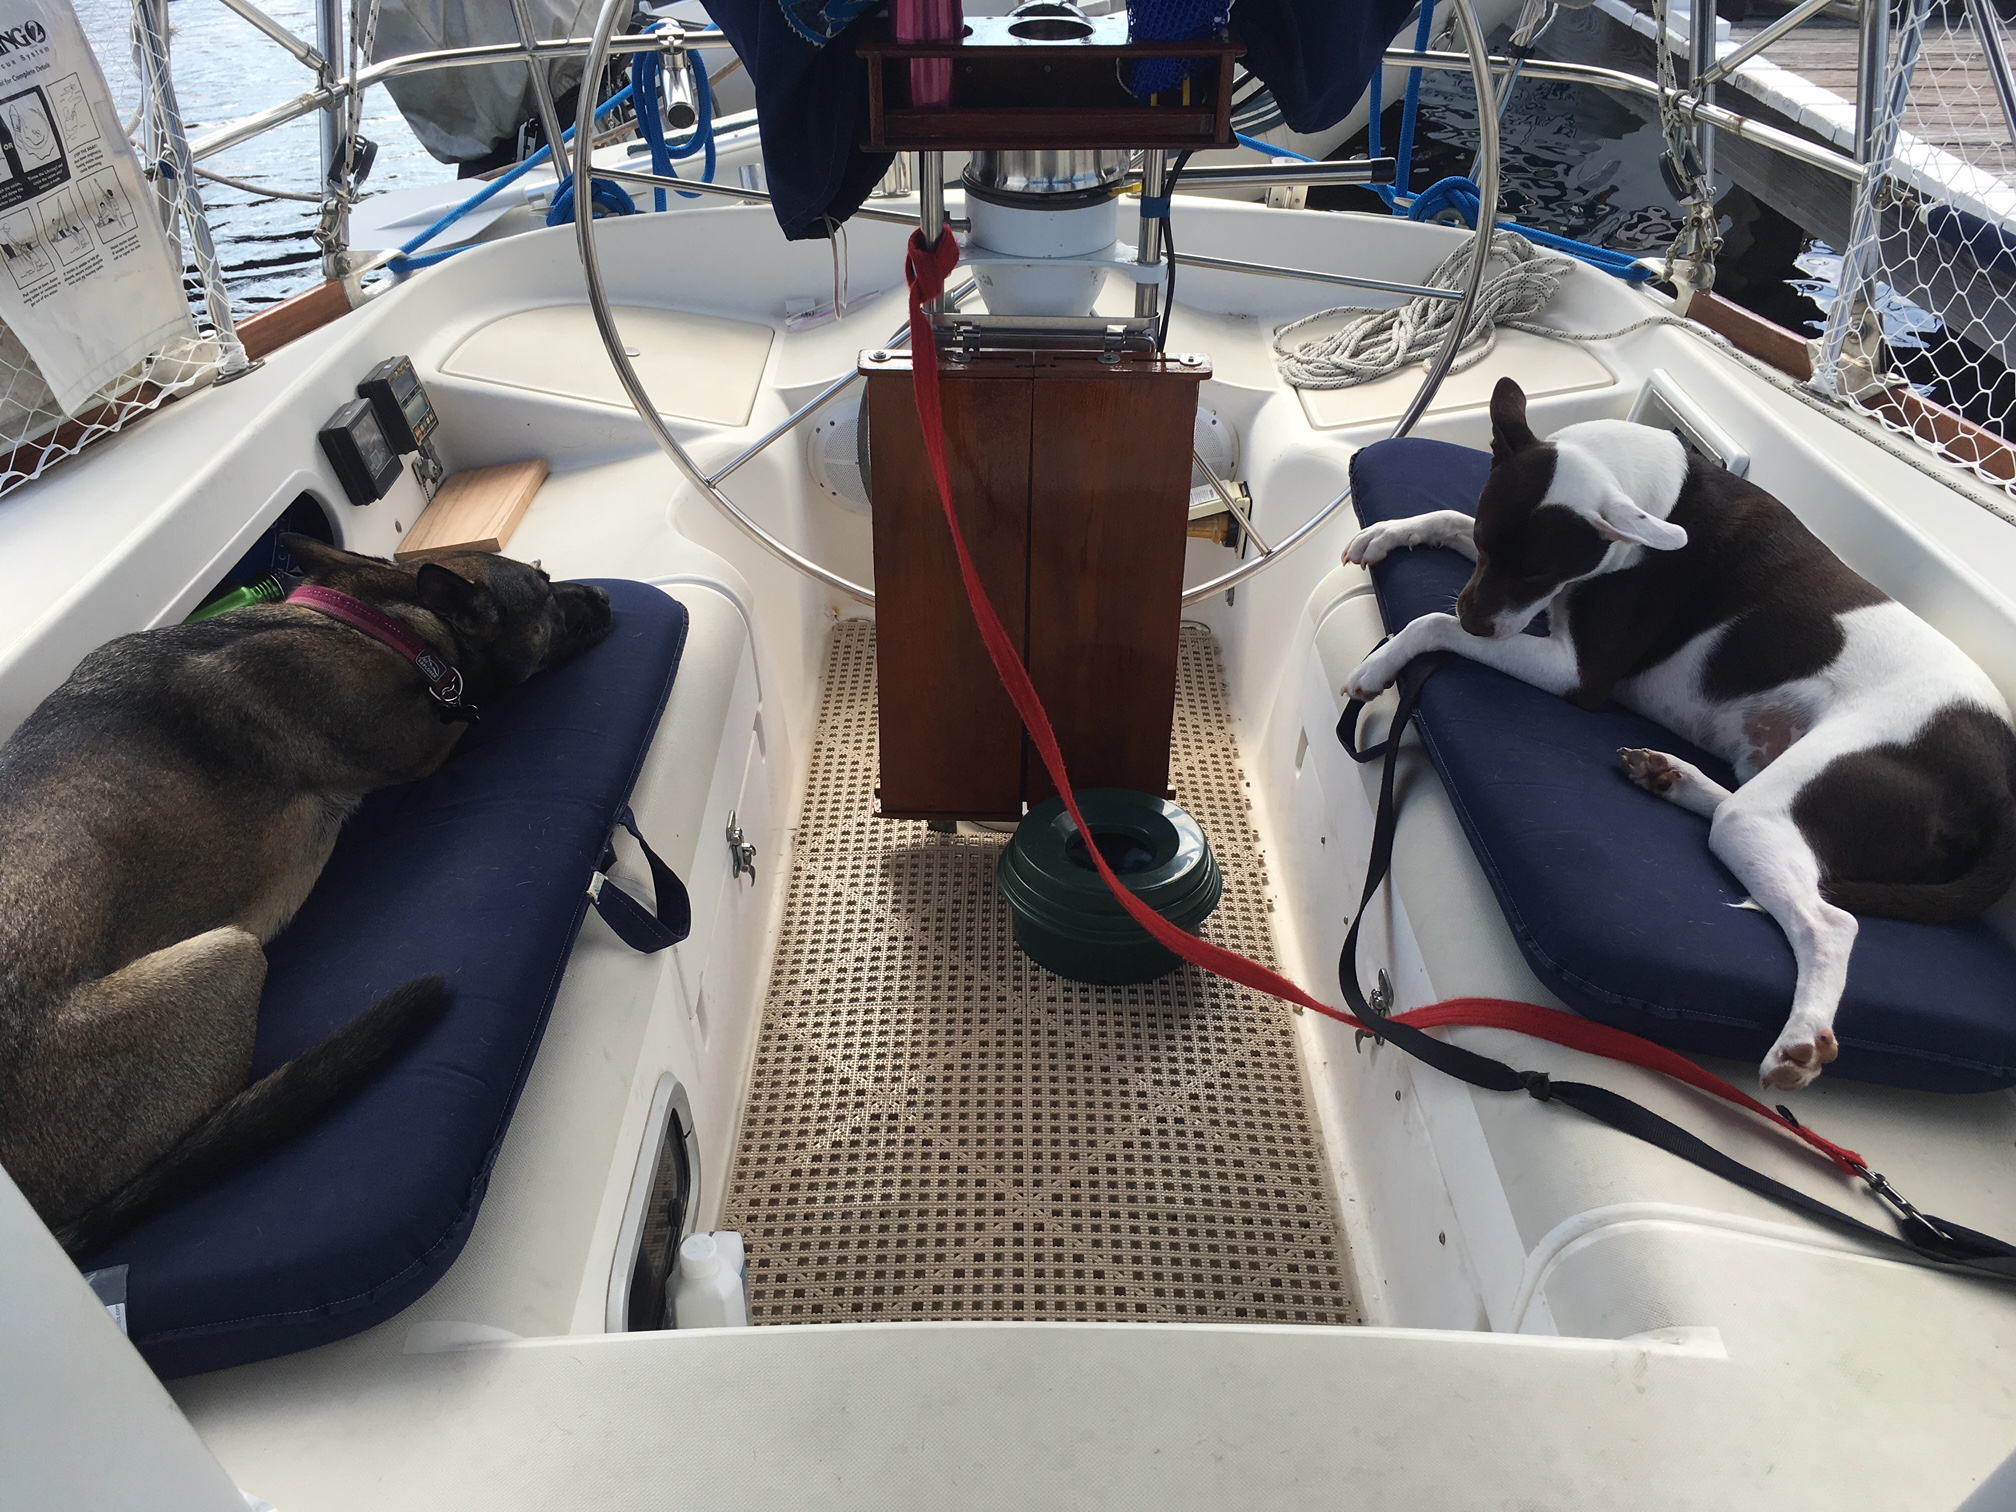
Adios Salon Table
Our salon table was very beautiful, but it took up too much space and space matters on a sailboat. The table was too long to easily get around. People in 1989 must have had very skinny legs. The dogs couldn’t even use half of the salon area because of the table. So we decided to remove it. We both agreed that we really don’t need a table downstairs and we will eat most of our meals in the cockpit. Of course right after we removed it, we had 2 weeks of cold and rainy weather. I made meals that can be eaten out of bowls and we ate on our laps in the salon. The weather finally turned around this week and we are back to eating in the cockpit with forks AND knives. There will certainly be some times when we miss having a table downstairs, but by removing it, we were able to give our dogs their own space. They are much more comfortable now, so it was worth it.

Adding Traction
Kairos has some nice angles. Unfortunately, angles plus gel coat plus puppy paws gives us very unstable dogs on deck. Of course the netting will keep them out of the water if they slip, but we wanted to make it easier for them to get on and off the boat. We added some Treadmaster grip in the high puppy traffic areas from the gate to the companionway door.
We also expect that our pups will spend a lot of time in the cockpit floor while underway, so we added some Dri-Dek for traction.
Harnesses and Lifejackets
The extra tread and netting will help us prevent a dog overboard situation. However, we still plan to have the dogs wear their lifejackets, while we are underway and during bad weather. They are both strong swimmers, but the extra floatation will be extremely helpful during an emergency situation.


In addition to the lifejackets, we also purchased Help ‘Em Up Harnesses. The harnesses are designed to be worn by the dogs for an extended period of time (no chafing). They have two handles that allow us to easily lift the dogs. While we haven’t had to use them much yet, I think they will be invaluable when we are lifting the pups on and off the dinghy or tossing them off the boat for a swim.


Food and Water Storage
Air tight food storage is key for keeping critters off the boat. For this reason, we’ve used ziplock bags and air tight containers for our food storage. Dog food is no different. We purchased two Gamma2 Soft Pet Food Storage Containers (30 lbs each). They are air tight and collapsible, which makes them boat worthy. We will top them both off before heading to The Bahamas. While we hate having to switch dog food brands frequently, we know we will have limited options in the islands. We plan to supplement their meals with rice and meat (hopefully fish once Rob becomes an expert fisherman). Hopefully this will make switching up their chow a little easier on their digestive systems.
Finally, there’s the Buddy Bowl, which we have been using as their water bowl. Purchasing the bowl has been the only difficult thing about transitioning the pups to it. Their website isn’t functioning properly so I emailed Bud at bud@greatamericansspillproof.com to order one. Since we have two dogs, I opted for the large 64 oz bowl. It’s nice having the larger size, because we don’t have to refill it as frequently. Within seconds of filling it up, Jaela was already drinking from it. The dogs have had no issue using it. We used to keep their water bowl in the head since it was easier to clean up spills. I was constantly kicking and spilling it any time I used the restroom at night. Now we have moved it to the forward cabin. I’m still constantly kicking it at night (that hasn’t changed), but at least it’s spill proof.


These two can certainly make things more difficult for us, but they also make our daily lives more enjoyable. Despite the extra work, I can’t imagine not sharing this adventure with them.


Like the idea of dri-lock in the cockpit floor. Our Honey finds the cockpit cushions and floor bit slippery.
Great post!
And it looks nice! It adds a different color to our cockpit. Honey is adorable. Thanks for following!
Like the idea of dri-lock in the cockpit floor. Our Honey finds the cockpit cushions and floor bit slippery.
Great post!
And it looks nice! It adds a different color to our cockpit. Honey is adorable. Thanks for following!